How To Paint Wood Furniture – Every few years your furniture is likely to be in need of some type of repair or paint job. Perhaps, some of your old wooden furniture has been shunted off to the side. Instead of throwing it away, try repurposing your old furniture with a good coat of paint. Painting furniture can be fun, but the question is: how to paint wood furniture?
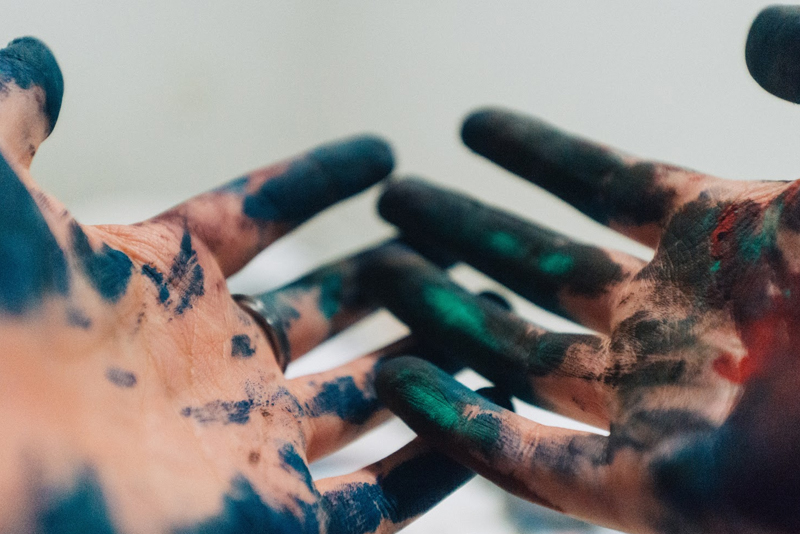
How To Paint Wood Furniture
Painting old furniture is a common practice in many households because it helps revamp the look of old furniture. Instead of using thick paint you can preserve a furniture antique look by using wood stain. A small amount of paint can do wonders for the overall look of your furniture. Here are the steps you need to take in order to paint your furniture correctly.
How To Paint Wood Furniture Step 1 – Prepare Your Tools
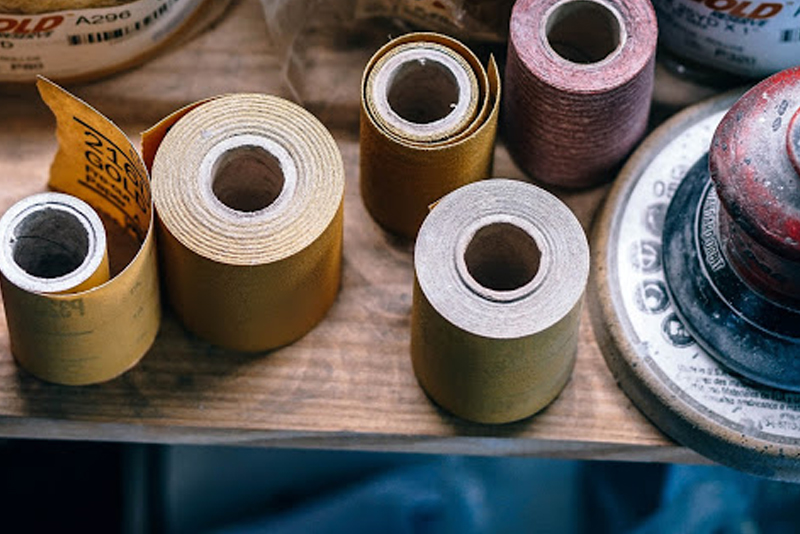
The first thing to do before you start to paint any piece of furniture is to prepare your tools. Usually, you will need some painter’s tape, oil-based paint, multipurpose latex primer, 220-grit sandpaper, masking tape, and a paintbrush. You can also include other tools such as a screwdriver that will come in handy when you take apart your furniture.
Step 2 – Floor Prep
Placing a tack cloth on the floor can prevent the paint from damaging your flooring especially when working indoors.
Step 3 – Dismantle Your Furniture
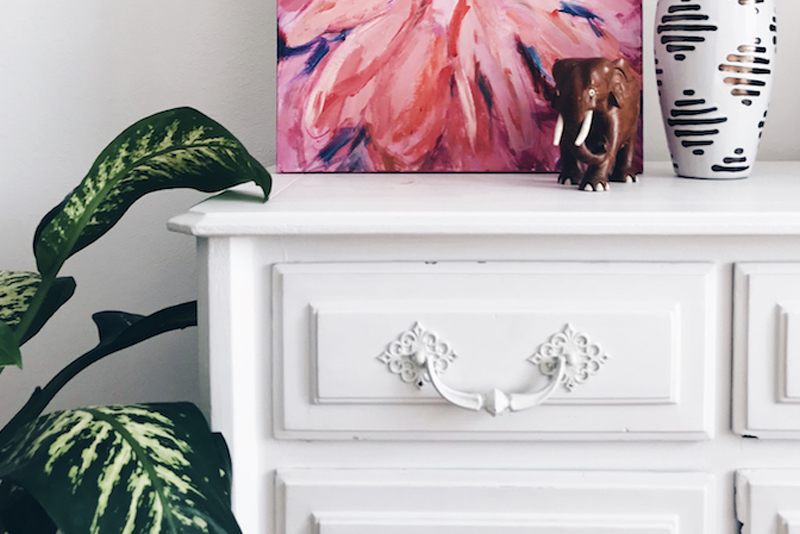
The first step to take when painting old furniture is to remove all the removable parts of your furniture, as well as any hardware that shouldn’t be painted. This includes drawers as well as drawer fronts, lock pieces, and anything else that can be disassembled. Mark the pieces and you remove them so you won’t lose their place [1].
Step 4 – Sanding
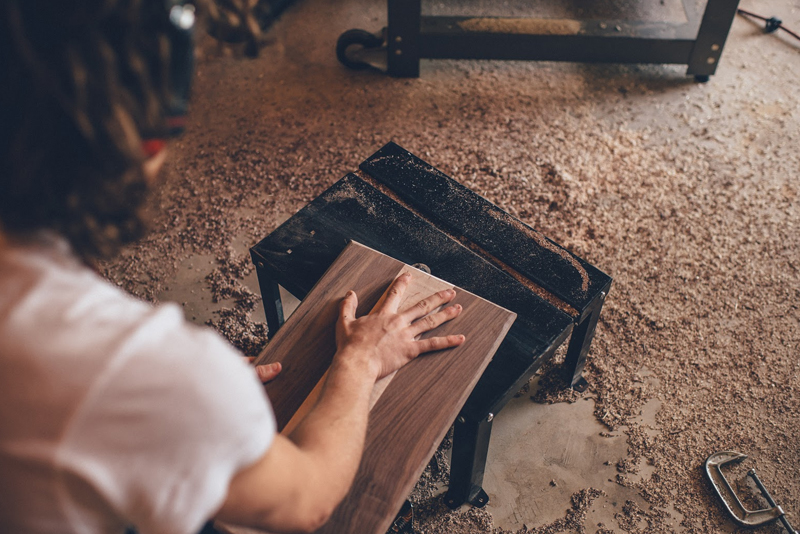
If this is your first time attempting to paint your furniture it is understandable that you will feel a bit challenged. After all, you don’t want to end up with poorly painted furniture. Always sand your furniture before painting. An orbital sander gets the job done fast but other sanding tools can be used as well. Sanding manually with a hard bristled brush can be tough but you can use a sanding block or fine sandpaper for those hard to reach areas. For those particularly tough or varnished surfaces, you can try a liquid sander deglosser.

Step 5 – Remove The Dust
After sanding, the next step is to remove any remedial dust as this can damage your finish and prevent your primer and paint from adhering to bare wood. It’s better to use a damp cloth to remove dirt but vacuuming the dust can help as well. It’s essential to make sure your surface area is free of any dust before applying primer.

Step 6 – Apply Primer
Once you have sanded your furniture, the next step is to apply a coat of primer to your furniture piece. Priming surfaces prevents stains from bleeding through your new coat of paint. Of course, your primer should be similar to the type of paint that you will be using. Furniture experts recommend that you use either a satin or a semi-gloss finish using a latex or even oil-based primer. Latex paint is always a good choice for furniture which means that you will need a latex primer to cover up the stains on your wood. The primer can be applied via brush strokes or you can use a spray primer.
Step 7 – Painting Time
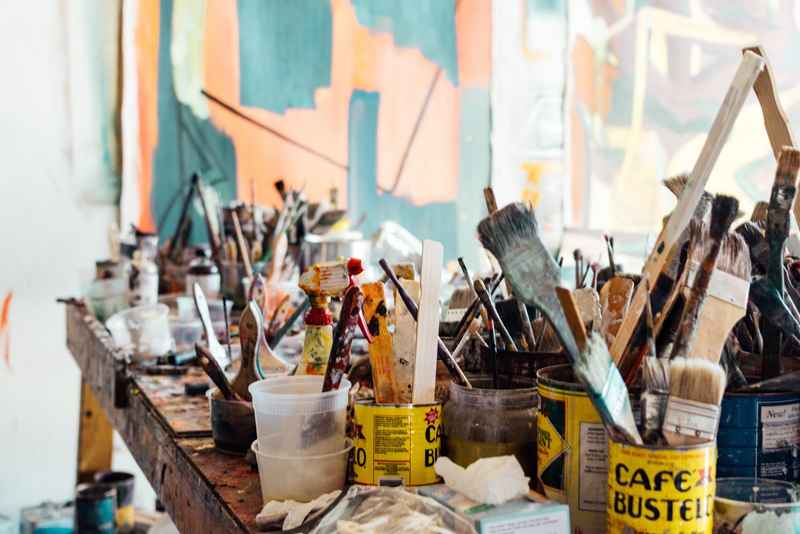
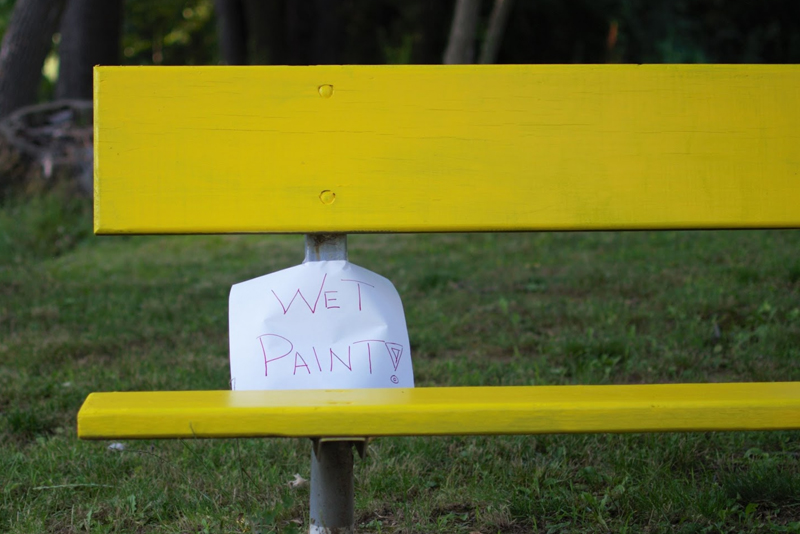
Paint and primer go hand in hand. Now is the time to use your imagination. Chalk paint is a nice choice as it goes on the wood easily. Of course, chalk is mostly used for wall items. Other types of paint include milk paint and flat paint. Flat paint is recommended for painting furniture since you can sand between coats of paint. Also, this type of paint can bond better if you apply multiple coats. Others may choose a satin finish or the addition of metal flakes. Fusion mineral paint is currently a hot trend as this paint requires minimal prepping and is easy to apply. Currently, the distressed look is also very trendy. Of course, you can never go wrong with white furniture paint. When applying paint, make sure that your brush strokes are in the direction of the wood grain. In fact, visible brush strokes are making a comeback. Some people still prefer using a paint sprayer. Always make sure you let the paint dry first before applying the second coating.
Step 8 – Sand
Wait until the final coat of paint has dried, then sand your furniture lightly to achieve a smooth and even finish. Use a soft-bristled brush attachment on your vacuum to help remove any sanding residue and other dirt. Wipe it down after using a lint-free cloth.
Step 9 – Top Coat
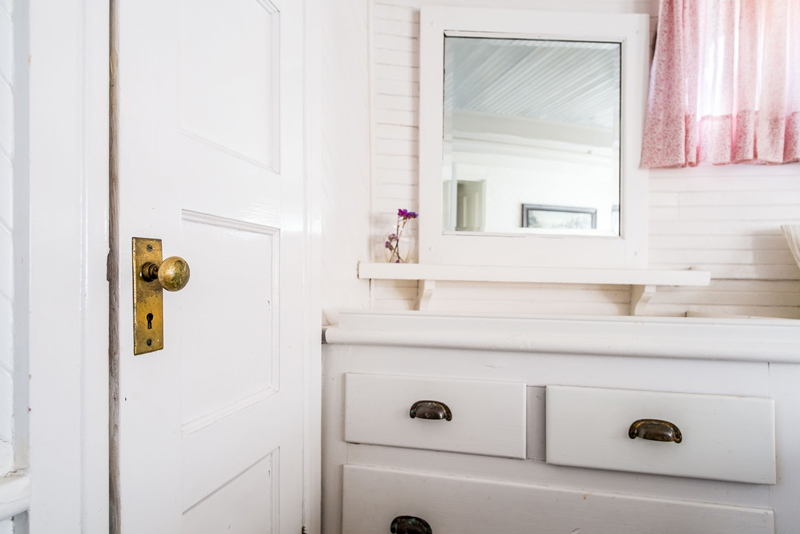
Once the last coat of paint has dried, the next step is to apply the top coat. This is the time you need to choose what type of wax you prefer. Some people like a lighter wax, while others go for dark wax. A water-based polyurethane is recommended for water-based paints while oil-based polyurethane should be applied on oil-based paints. A word of advice when using oil-based polyurethane, don’t apply it to light colors since this type of top coat has a yellow hue. It is important that you apply several thin top coats just like you did when you were applying the paint. When painting, the top coat should go along the grain. Make sure that your brush stroke follows this pattern for a smooth finish. Don’t forget to sand in between paints.
Step 10 – Clean Up
This may be the least fun part of your furniture painting. However, it is necessary. to clean up any leftover paint and dispose of it properly. Put away all your tools in their proper places. Fold up your tack cloth and put it away until you need it for your next project.
Painting old furniture can give your furniture and indeed, the room, a whole new look. The most important thing is to be patient and let your surface dry completely before proceeding to the next step. Whether you are going for a rustic farmhouse look or a shabby chic design, painting old wood furniture pieces can make a world of difference. It’s time to visit your nearest thrift store and add your own painter’s touch to your home.
Related – DIY Headboard – Ten Creative Guides On How To Make A Headboard
How To Paint Wood Furniture Resources
[1] HGTV; How To Paint Furniture.


